Uploading Your Code for Analysis
Once your project is created and has a CREATED status, it's time to upload your source code. This page guides you through the process of selecting your project and providing the code for analysis.
- Accessibility: While this page is always accessible from the sidebar menu, you will only be able to select a project for upload if it has a
CREATEDstatus. If no projects are available, the selection field will be disabled.
Form Fields and Workflow
The setup process involves a few key steps, and all fields are required.
1. Project Selection
First, you'll need to select the project you want to work on.
- The dropdown list will only show projects that have the correct status for code upload.
- If you've arrived here directly from the project creation flow or by clicking the "Upload" button on the Projects Listing page, this field will be automatically pre-filled with the correct project.
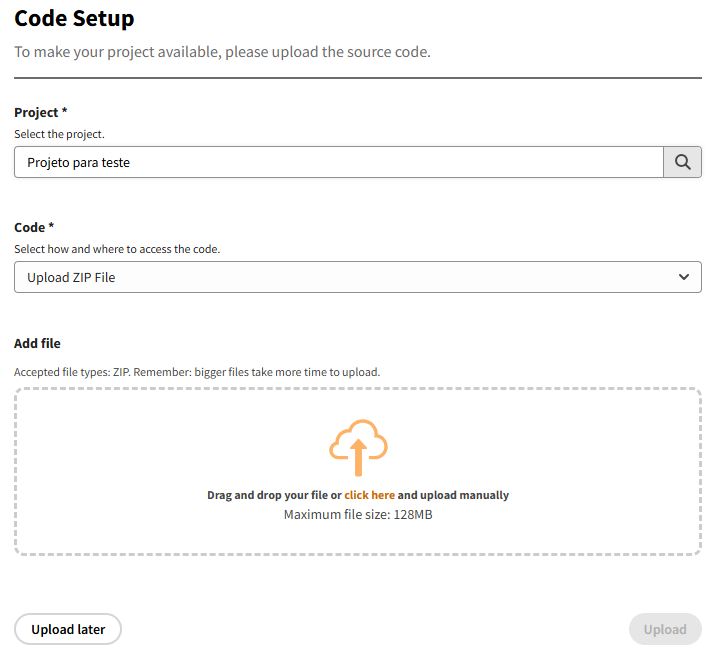
2. Source Code Location
Next, specify where your source code is located. You'll have three options, though only one is currently enabled:
- S3: Currently disabled.
- GitHub: Currently disabled.
- Upload .zip: This is the default and currently the only available option.
3. Provide Your Code
The final step depends on the source code location you selected.
- Since Upload .zip is the only active option, you will see a file upload field.
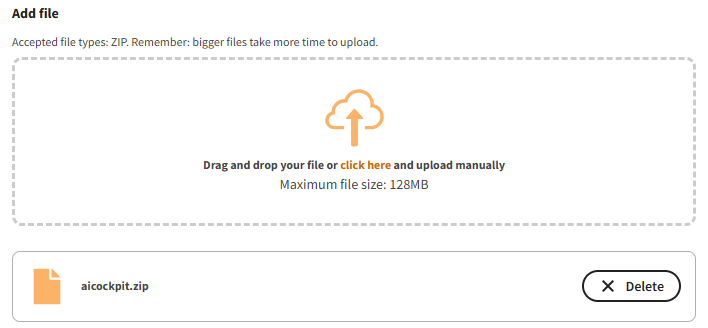
- File Format: Your project must be compressed into a single
.zipfile. - File Size: The maximum allowed size is 128MB.
Starting the Analysis
Once you have filled out all the required fields, click Save to begin the upload and analysis process. Your file will be securely uploaded, and the project status will change to ANALYZING. Upon successful completion of the analysis, the status will automatically update to READY.