Synchronization
Synchronization is the process that fetches repository data and makes it available for analysis. Without running a synchronization job, the dashboard cannot display adoption results for the selected period.
How Synchronization Works
Synchronization collects repository activity for the scope defined in the Settings page. Once the job completes, the data is available in the dashboard views.
In practice, the workflow follows this sequence:
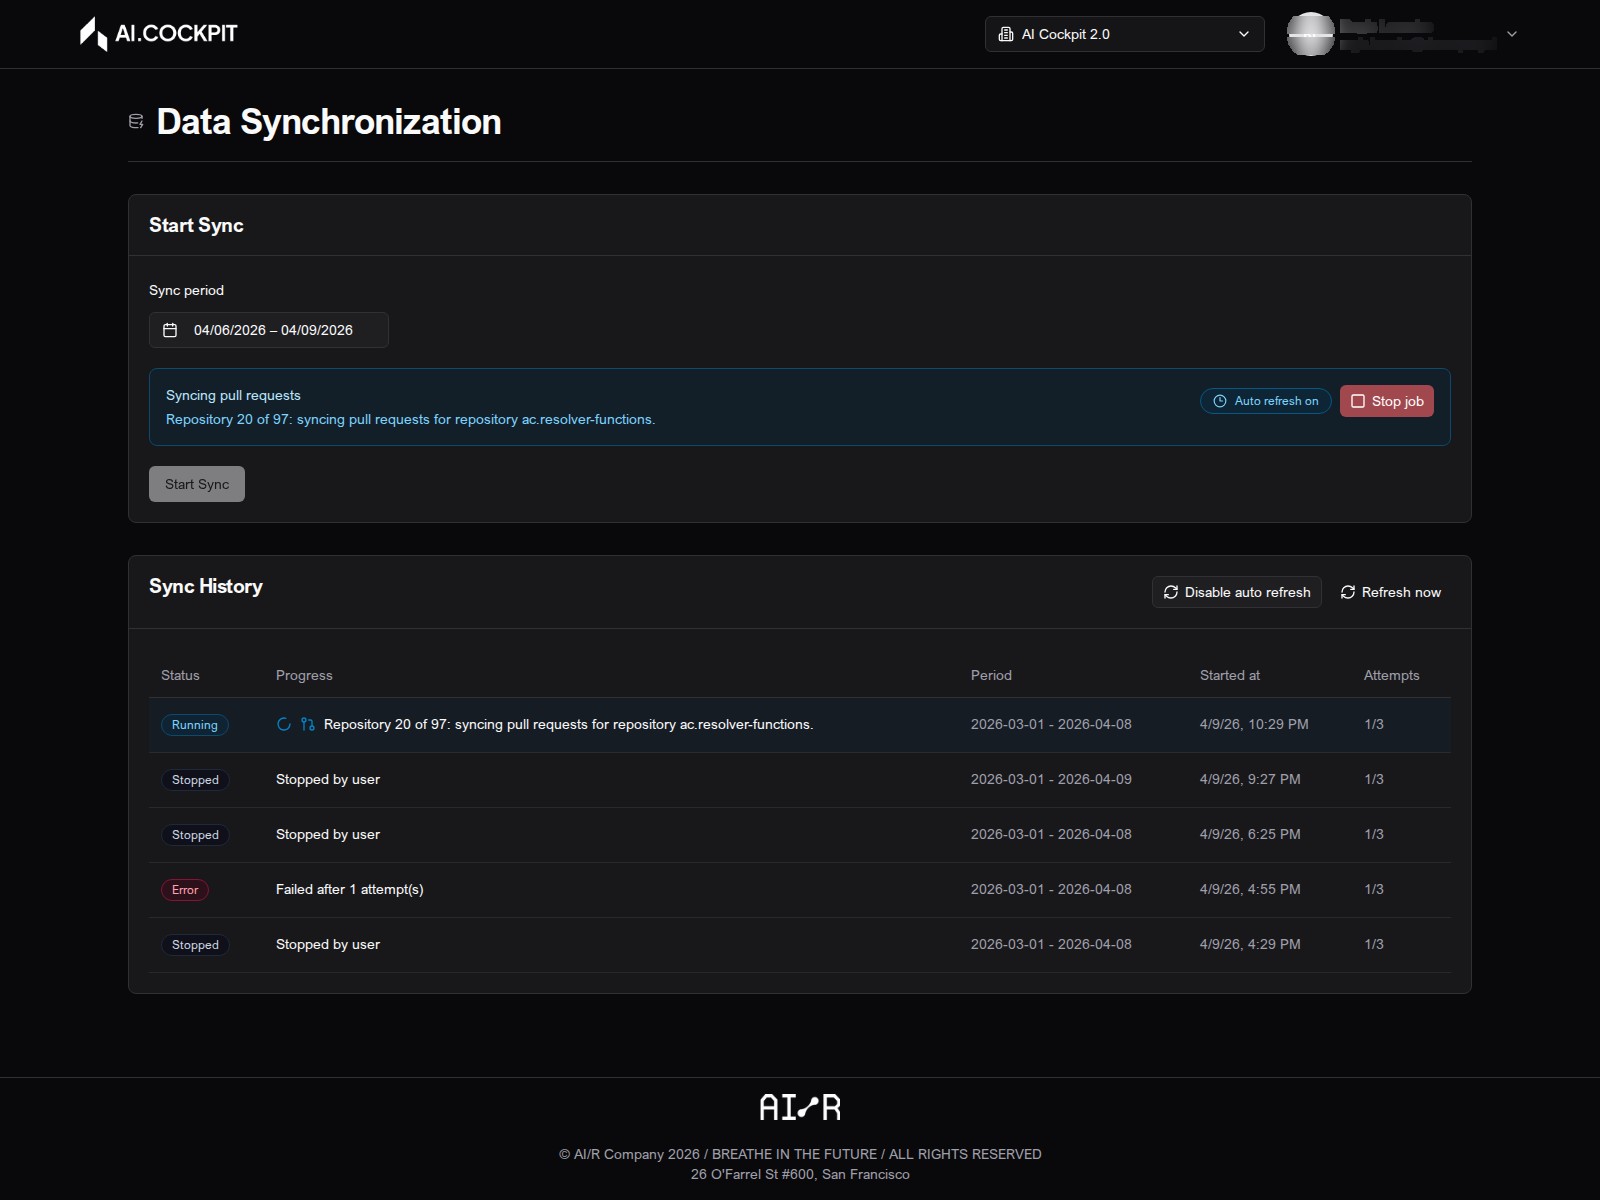
- Select the period you want to analyze.
- Start the synchronization job.
- Wait for the application to fetch and register the repository data.
- Review the synchronization history to confirm the execution completed.
- Return to the dashboard to inspect the resulting analysis.
Synchronization Controls
The synchronization controls are available in the Repositories area of the application. From this page you can:
- select the period for the synchronization window
- start a synchronization job
- review the history of recent executions
Before Running Synchronization
Before starting a synchronization job, confirm that:
- the provider connection is configured correctly in Settings
- the target repositories have been selected
- the correct organization is active in the header
If any of these are missing, the job may complete without producing useful data for the dashboard.
Next Steps
- Dashboard — review adoption results after synchronization completes
- Troubleshooting — resolve common synchronization issues