Chatting with Agents
The chat interface is where you interact with an agent. You can ask questions, request analysis, and attach files to provide context for your requests.
What You Can Do
- Send messages and receive responses from the selected agent.
- Attach files to provide additional context for your request.
- Review the full conversation history within the session.
- Use suggested prompts to get started quickly.
Interface Layout
When you open an agent from the dashboard, the chat interface loads with three areas:
| Area | Description |
|---|---|
| Agent Header | Agent name and description |
| Message History | The conversation thread |
| Message Input | Text field at the bottom for sending messages |
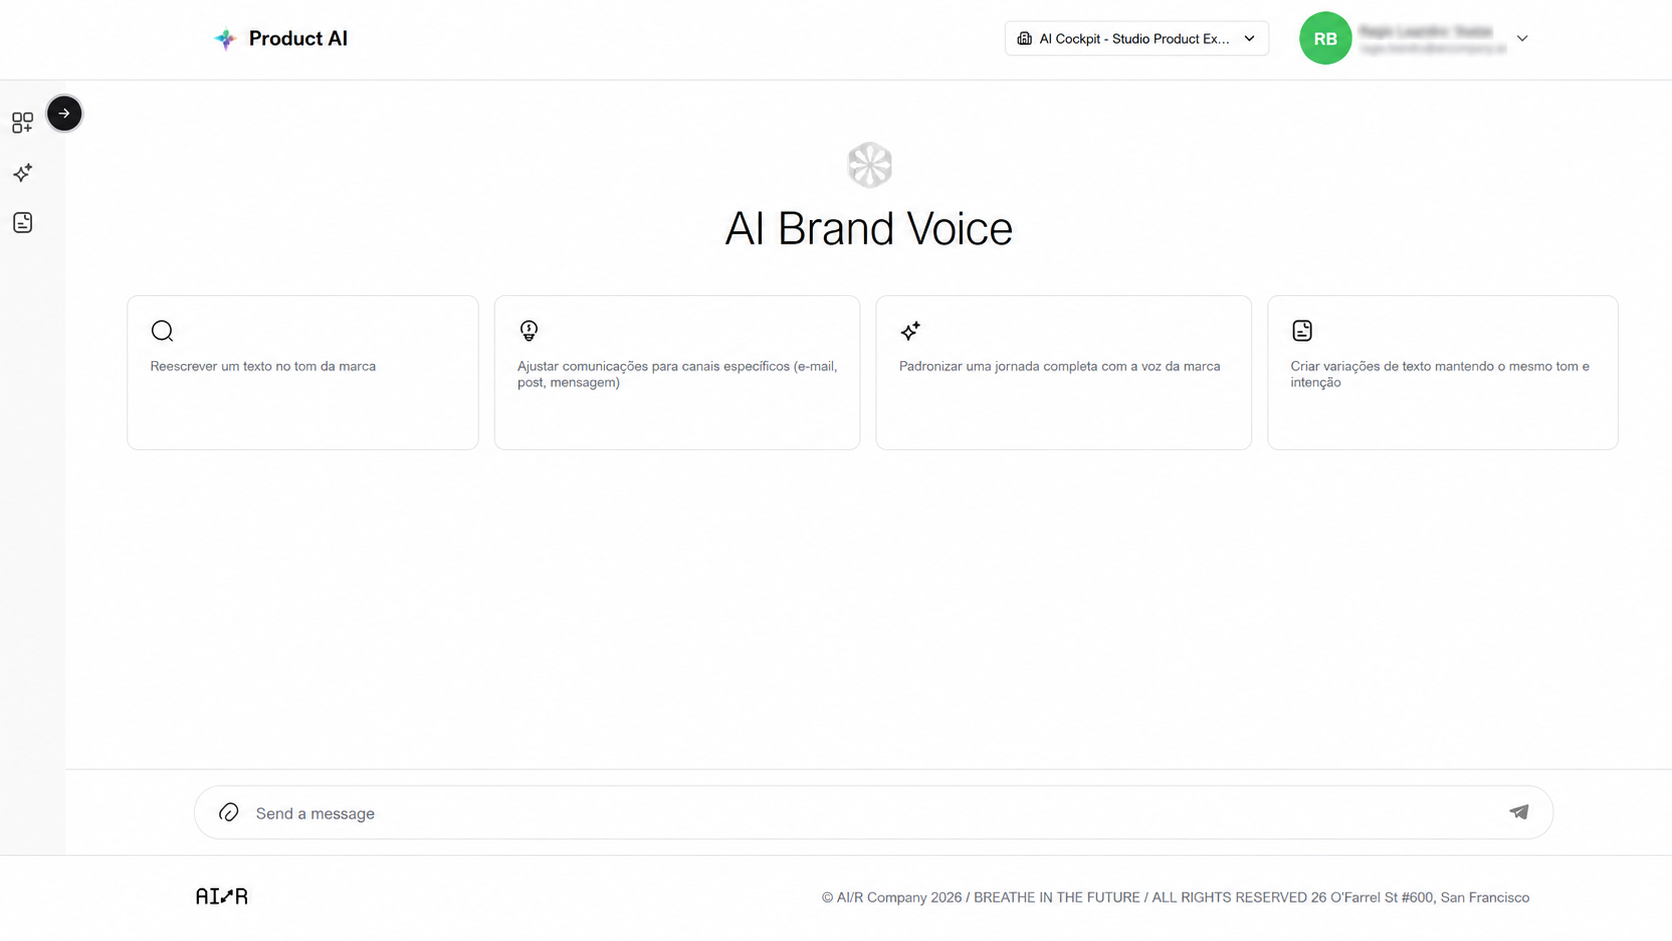
Starting a Conversation
New sessions display suggested prompts to help you get started. Click a prompt to send it immediately, or type your own message and press Enter.
Uploading Files
To provide context files alongside your message:
- Click the attachment icon in the message input area.
- Select one or more files from your computer.
- Send your message — the files are included with it.
Chat Status
While the agent processes a request, a status indicator shows the current phase:
| Status | Meaning |
|---|---|
| Analyzing context | Agent is reviewing the request and available context |
| Thinking | Agent is formulating a response |
| Crafting response | Agent is generating the final output |
The response appears in the message history when processing is complete.
Best Practices
- Be specific in your first message — include the task or question clearly for more accurate responses.
- Use file attachments when the agent needs to analyze a document or reference material.
- Start a new session when switching to a different topic to keep context clean.
Next Steps
- Managing Agents — configure agents for your organization
- Troubleshooting — resolve common issues with chat and file uploads