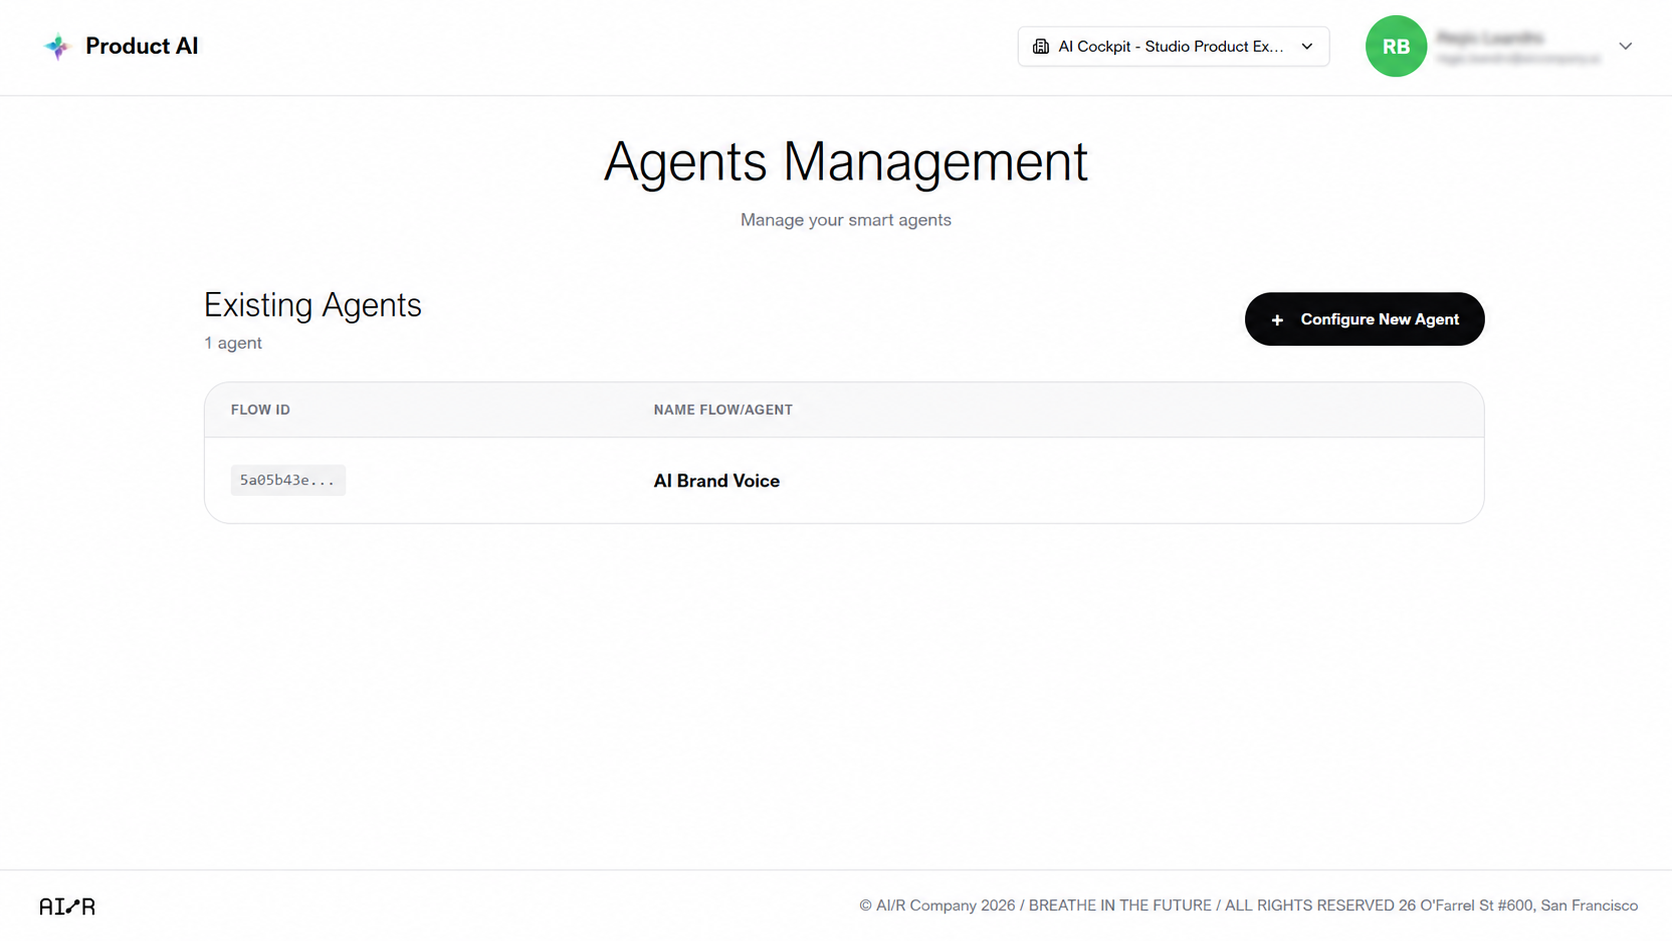
Managing Agents
The Agents Management section is where administrators and managers create, configure, edit, and delete the agents available to the organization.
Configure agents from One first
Before managing agents here, you can define agent personas and knowledge bases from the One Lens section. See Configuring Agents from One for the full setup flow.
What You Can Do
- Create new agents and configure their connections.
- Edit agent names, descriptions, and settings.
- Upload reference documents to extend an agent's knowledge.
- Delete agents that are no longer needed.
Accessing Agents Management
Navigate to Agents Management from the main navigation menu.
Creating a New Agent
- Click New Agent.
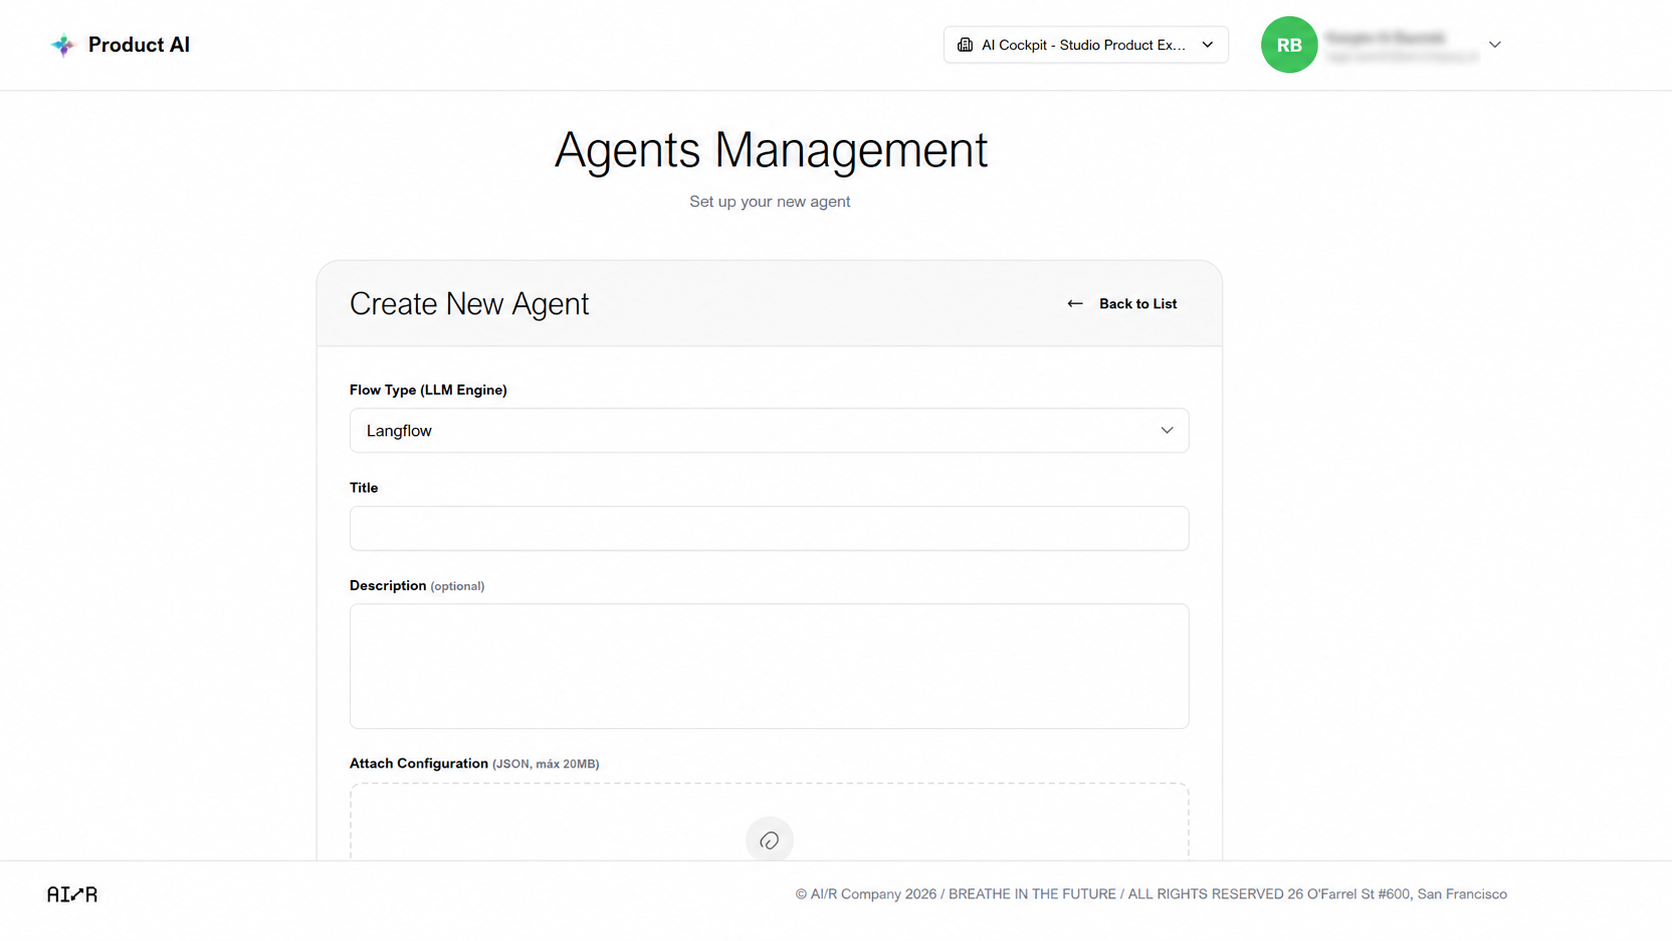
- Fill in the required fields:
- Name — a clear, descriptive name for the agent.
- Description — (optional) a short summary of what the agent does.
- API Key — the connection credential for the agent's data source.
- Configure the agent's connection settings.
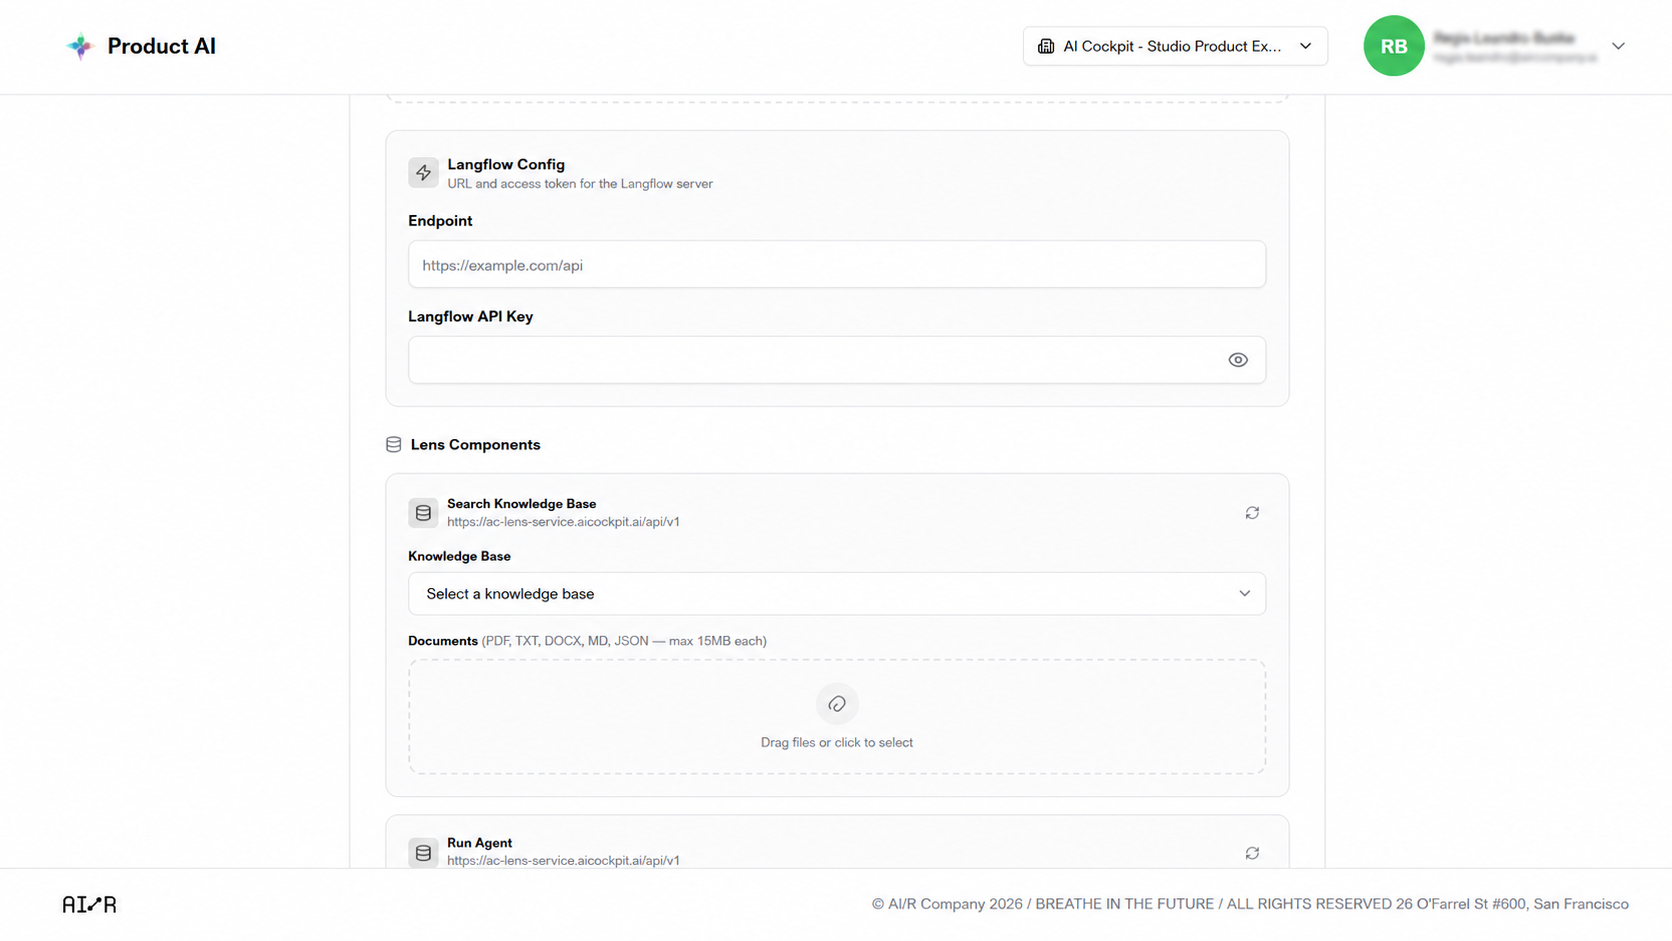
- (Optional) Upload reference documents to give the agent additional context for its responses.
- Click Save.
Editing an Agent
- Locate the agent in the list.
- Click Edit.
- Update the relevant fields.
- Click Save.
Deleting an Agent
- Locate the agent in the list.
- Click Delete.
- Confirm the action.
Permanent Action
Deleting an agent is permanent and cannot be undone.
Next Steps
- Configuring Agents from One — define agent personas and knowledge bases from One
- Troubleshooting — resolve common issues with agent configuration